Today’s smartphones are always filled with lots of data, and you always live with the fear of losing it because of your one wrong click, and it goes to trash.
Whether you use your phone for personal or professional purposes, you always have stored beautiful memories and useful files such as pictures, videos, messages, files, and apps; having everything stored on your smartphone. Losing such essential data ends up losing a meaningful piece of your life, and every time it’s not recoverable. The only way is to keep you data safe is to take regular backups or use cloud storage as an option instead of being in such a situation.
Today’s cloud storage is one of the easiest and effective ways to ensure the safety of your data. If you are an iPhone user, things will become more natural by setting up or login to an iCloud on your iPhone, iPad, or iPod touch. The best part is that Apple offers iCloud service to its users. And, it’s always advisable to use iCloud on your Apple device because it provides many benefits to you, such as…
-
Quite easy to set up, integrate and use
-
Provides FREE storage up to 5GB
-
Seamlessly syncs all your documents and data with iCloud
-
Automatically backups your device data
-
Get an option to restore all or specific data
-
Comes with an option to share data with your Family
-
Option to securely restore and access your backup data
-
Easy to upgrade and downgrade paid cloud storage subscription
-
It works across all your Apple devices
-
You can send it as email attachments too.
Found as a replacement of MobileMe back in 2011, iCloud automatically syncs your iPhone media such as photos, contacts, email, bookmarks, documents, etc and upload its on Cloud storage. Apart from that, update to their apps over time, they do provide an option to backup your iPhone Reminders, Calendar, Contacts, and much more. And, you can easily access your data by getting online at any time and anywhere. As we have mentioned earlier, iCloud comes with only 5 GB of FREE storage, but if you have lots of stuff to backup, you have an option to upgrade your iCloud storage if needed. Depending on your country and storage options, Apple’s iCloud storage charges may vary. iCloud unlocking has got harder with new iOS updates and the most popular iCloud Unlock Service – iCloud Removal Service with IMEI/SN.

Just because the iPhone comes with static storage that is entirely non-expandable by using external SD card options, integrating such a cloud storage option will help you to sync and access your data across different platforms securely. So, if you are a newbie or want to know how you can set up iCloud on your iPhone, iPad, or iPod touch, this guide is for you.
Step 1: Create or use an existing Apple ID
If you are a first time Apple user, you have to know that how to create a new Apple ID on your iPhone while iCloud setup process or directly signup on Apple’s website. You can also use your existing Apple ID for iCloud if you have it.
Step 2: Setting up Apple ID

Simply navigate to your iPhone settings and click on the iCloud. Now, you will be asked to enter your email first, and then you will get redirected iTunes Store as an option to upgrade iCloud storage. However, you can also continue to use 5GB FREE iCloud storage if you dont want to purchase by clicking on the “Get a Free Apple ID” at the bottom of the setting page.
If you want to go with your existing Apple ID, sign in with your Apple’s login credentials. Once you get agreed to their iCloud’s terms and conditions, they will send you one verification code on your linked Email ID. Now you will go through the same iCloud purchase process as mentioned above.
Step 3: Assign Permissions
Once you complete the iCloud setup and its verification process, your device is ready to synchronize all your data, but first, you have to grant permission for it. This permission will be used to merge or replace your iCloud data on your existing device. The safest way is to combine your data because it won’t affect your current device data. Even if it duplicates data, Apple’s service is smart enough to know what to keep and how to organize it. However, it required a little touch-up from you side that you can do it later.
Step 4: Select what to Sync
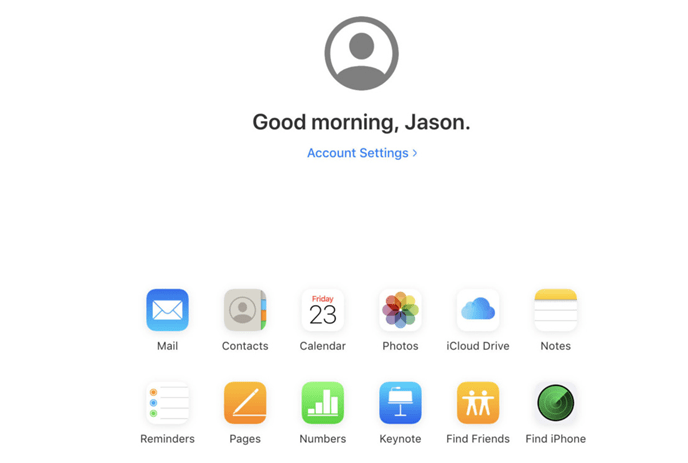
You have a choice to pick what data does and doesn’t sync via iCloud once you are done with the iCloud setup process. Your options include Mail, Contacts, Calendars, Reminders, Bookmarks, Notes, Photo Stream, Documents & Data, and Photo Stream. However, you have an option to sync such data either on Wi-Fi or over mobile data. Because you are getting minimal iCloud storage, make sure that you won’t fill you room with unnecessary backup files.
Like iTunes, you can also take your device backup to iCloud. And, it will work the same as you take backup in iTunes, so you can remotely restore your iPhone’s settings and other stuff. But it will only take a backup of camera roll, account information, documents, and settings. For the remaining audio and video, you have to replace it manually, and the same thing applied to your iPhone apps.
Step 5: Download Related Apps
Things don’t end up once you set up iCloud on your iPhone because to have complete iCloud experience, you have to download other apps such as Find My iPhone and Find My Friends. It will help you to locate your loved ones on a map if you both share locations with each other. To sync your documents via iCloud you can also download the iWork app from your Apple store, but keep in mind that it’s not available for free.
That’s it. As you have seen it’s not difficult to set up iCloud storage options. However, once you complete the steps, you have to manually configure some options to have a personalized experience.
Lastly, let us know if you face any issue while setting up iCloud storage on your Apple device by commenting below.
Related posts:


